詳解JavaScript的Polymer框架中的通知交互
編輯:JavaScript基礎知識
Polymer 以訪問器屬性的形式來定義有監聽需求的屬性(沒有監聽需求的屬性依然是普通的屬性形式定義)。模板中還可以采用「::」語法來將屬性雙向同步於目標元素的某個事件,這就是 Angular 中雙向綁定的概念,甚至還要比它更純粹、更貼近原理。
在 properties 中定義的屬性如果沒有添加 notify 並且沒在模板中用到,那麼它就是沒有監聽需求的,於是就會被定義成普通屬性。否則都會被定義成訪問器屬性,下面例子就解釋了這個問題
運行
<script> var Polymer = { dom: 'shadow' }; </script>
<base href="http://www.web-tinker.com/share/" />
<link rel="import" href="polymer/polymer.html" />

<dom-module id="demo-test">
 <template>
  <h1>[[z]]</h1>
 </template>
 <script>
  Polymer({
   is: 'demo-test',
   properties: {
    x: { value: 'x' },
    y: { value: 'y', notify: true }
   },
   ready: function() {
    console.log(Object.getOwnPropertyDescriptor(this, 'x'));
    console.log(Object.getOwnPropertyDescriptor(this.__proto__, 'y'));
    console.log(Object.getOwnPropertyDescriptor(this.__proto__, 'z'));
   }
  });
 </script>
</dom-module>

<demo-test></demo-test>
設置了 notify 為 true 的屬性在其發生變化時會產生一個「屬性名-changed」事件。注意屬性名和 changed 中間用橫桿鏈接,並且 changed 是過去時態,而不是 change 原形。Polymer 可以使用 listeners 來添加事件監聽,但不能直接綁定到函數上,而必須綁定到某個屬性名上(我不明白為什麼要這麼設計)。
運行
<script> var Polymer = { dom: 'shadow' }; </script>
<base href="http://www.web-tinker.com/share/" />
<link rel="import" href="polymer/polymer.html" />

<dom-module id="demo-test">
 <template>
  <h1>[[i]]</h1>
 </template>
 <script>
  Polymer({
   is: 'demo-test',
   properties: {
    i: { value: 0, notify: true }
   },
   ready: function() {
    setInterval(function(that) {
     that.i++;
    }, 100, this);
   },
   listeners: {
    'i-changed': 'iChangeHandler'
   },
   iChangeHandler: function(event) {
    console.log(event.detail.value);
   }
  });
 </script>
</dom-module>

<demo-test></demo-test>
事件可以在模板中使用「::」語>法來捕獲,而且這些事件包括了上面產生的通知事件和用戶主動觸發的交互事件。
運行
<script> var Polymer = { dom: 'shadow' }; </script>
<base href="http://www.web-tinker.com/share/" />
<link rel="import" href="polymer/polymer.html" /

<dom-module id="demo-test">
 <template>
  <input value="{{text::input}}" /><hr/>
  <textarea value="{{css::input}}"></textarea><hr/>
  <h1 style$="[[css]]">[[text]]</h1>
 </template>
 <script>
  Polymer({ is: 'demo-test' });
 </script>
</dom-module>

<demo-test></demo-test>
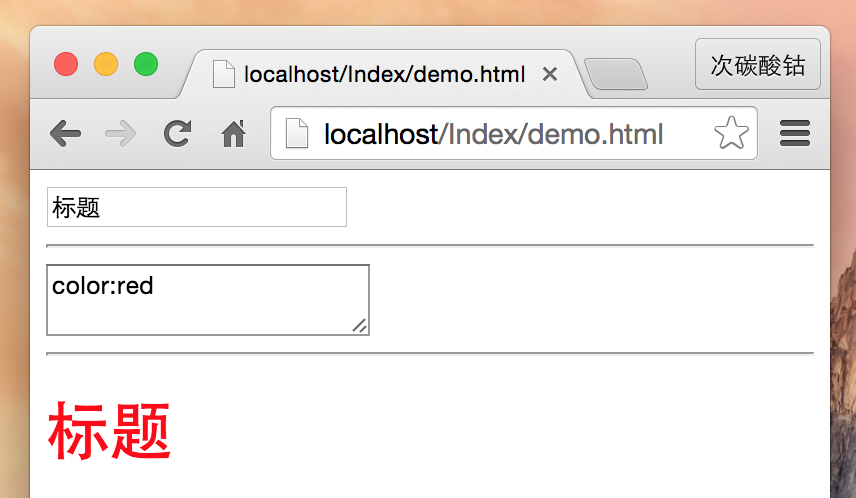
注意上面是 style$="[css]" 而不是直接的 style="css",因為此處是賦值給元素的 attribute 上,而不是純粹的 property 賦值。所以在等號前面加一個「$」(其實我覺得這個語法看起來非常奇怪)。
以上這些就是我所知道的 Polymer 中所有關於數據綁定的內容了。也許有遺漏,可能會在其它文章中補充。
小編推薦
熱門推薦